




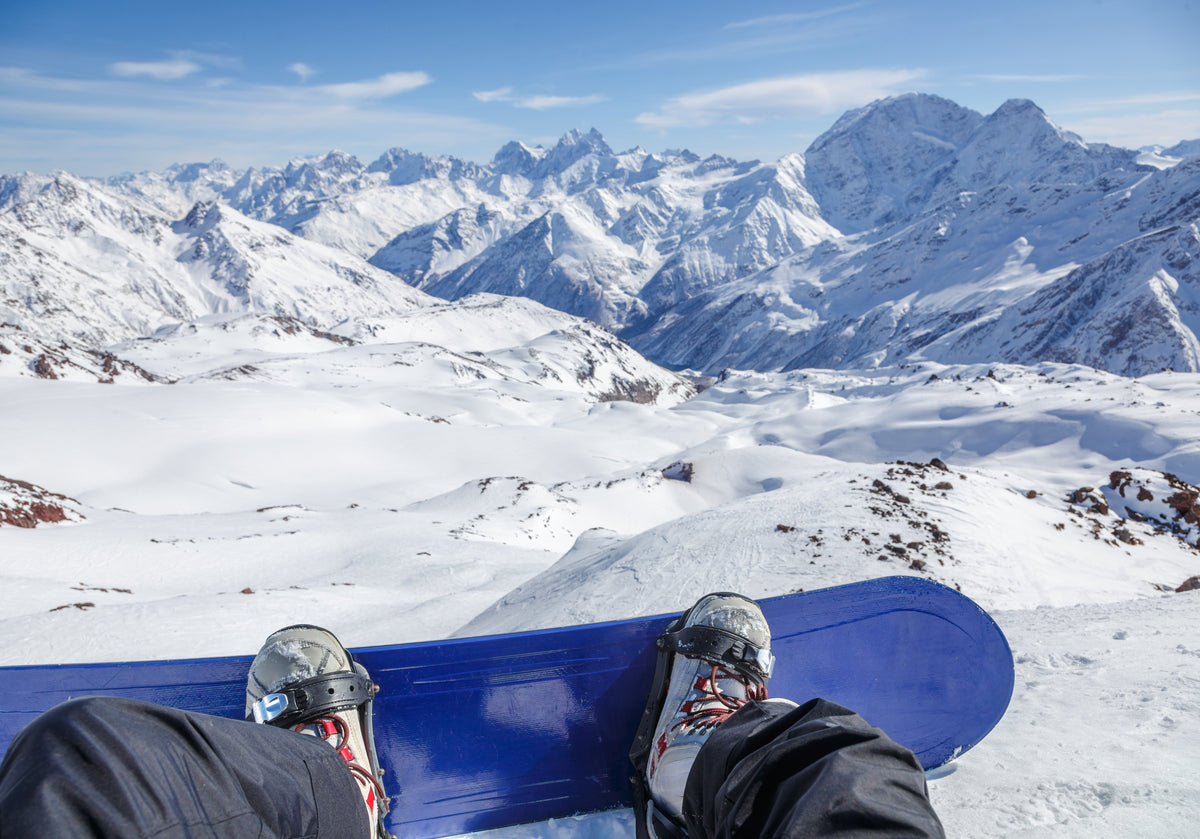
You get home from the mountains and play back an hour of footage from your helmet. After a few minutes you're already looking at your phone. Why, when the camera didn't do anything wrong? The catch is that it sat in one spot all day, pointed the same way.
Yet all it takes is moving it around. That way, one run gives you five different shots, and out of them a 30-second video that even someone who wasn't there with you will want to watch.
1. The night before
This is the most overdone part of the topic, so just briefly. For the basics, how to switch the camera on and where to mount it in general, check the beginner's guide. Here are just two things that pay off on snow.
Stick the adhesive mount on your helmet the day before, at home where it's warm and dry. The glue needs time, and on a cold helmet on the slope it holds worse. Then charge the camera and shoot a few seconds at home. Check that the horizon is in the frame and, now and then, a bit of your skis or board. If you don't, you'll find out about the mistake in the evening back at the cabin.

2. Shot one: The view from your helmet
The helmet view is the basic one. It's also the most boring shot, because you can't tell how fast you're going. Don't let it run longer than a few seconds. Tilt the camera so it points at the slope, not the sky. And stay close to others, a wide-angle lens works best when there's something around in the frame. Ride just behind a friend or beside them.
3. Shot two: On a pole
This is where a run turns into a story. You mount the camera on a pole and hold it out in front of you, so you see yourself and the slope in the frame. You show how you ride, not just where.
You'll find a pole mount in the box with, for example, the LAMAX X5.2. The manufacturer describes it for handlebars, so if it fits a ski pole, try it at home before you find out on the slope. If you have an old ski pole at home, you can cut it down to about a third and use it as your stick.

4. Shot three: In slow motion
A jump or a carved turn that kicks up the snow. This one begs for slow motion. On the X5.2, slow motion runs at 720p and 120 frames per second. The resolution is lower, but it's still HD, and on a phone screen that's enough.
Shoot everything else in 2.7K or Full HD at 60 frames per second. The camera only does 4K at 30, and with fast motion the picture is less smooth.
5. Shot four: A time-lapse from the lift
The ride up is dead time. Turn on the time-lapse and leave the camera on your helmet. The whole ride shrinks to a few seconds in which the trees and the slope below you fly by. You'll find the function in the camera menu. Try it at home first to see how long a clip you get from how long a ride, so you're not guessing on the lift.
6. Shot five: A friend films you
The last shot doesn't need any mount. Hand the camera to a friend and let them film you as you ride past. The lens is wide-angle, so have them stand close to the run. And tell them not to stop recording before you've left the frame. Classic.
7. Skis and snowboards aren't the same
On skis, a chest mount gives the steadiest shot. Your torso shakes the least, and in the frame you have your ski tips, poles and hands. You won't find a mount like that in the box. But the X5.2 fits standard action camera accessories, so you can buy one.
On a snowboard, leave it at home. Your chest points at the people next to you, not at you. Here the helmet wins, and so does a shot from a friend.

8. Cold
In the cold, every action camera lasts less time than it does in a room. Between shots, keep it in a jacket pocket against your body and turn it on only on the slope. Wipe the lens before you hit record. And when you get back to the warmth, leave it in its case so it warms up slowly and no condensation forms on it.
9. From an hour of footage to 30 seconds
At home you're left with an hour of footage. Pick roughly one clip in ten and don't let any run longer than five seconds. Alternate the angles: helmet, pole, slow motion, friend. The order you shot them in doesn't matter. Keep the whole video under two minutes, and 30 seconds will work best.
The camera's app is for transferring footage to your phone. Do the editing in any editor on your phone or computer. And music? Something you're allowed to use.
Pre-run checklist
✅ mount stuck on the day before
✅ camera charged
✅ test shot recorded at home
✅ card with free space (U3 speed for the X5.2)
✅ camera in a pocket against your body
✅ five shots in your head
FAQ
Where should I mount an action camera for skiing? A chest mount works best for skiing, because your torso shakes the least while you ride and the frame includes your ski tips and poles. From a helmet you get a view like your own, but you often won't capture your ski tips.
What resolution and frame rate should I use on the slopes? 2.7K or Full HD at 60 frames per second works best on the slopes, because the motion is smoother than 4K at 30. On the LAMAX X5.2, slow motion runs at 720p and 120 frames per second.
Does an action camera hold up in the cold? An action camera lasts less time in the cold, because the battery loses power at low temperatures. Between shots, keep it in a pocket against your body, and when you get back to the warmth, leave it in its case so it warms up slowly.
Thirty seconds is enough
In a few years you won't remember the resolution. You'll remember how your friend only managed to stop at the lift and how you all laughed about it, because you have it on film.
Shoot five shots, keep three of them and show them to people who weren't there with you. Nobody wants to see the rest anyway.